- Introduction
- FAQ
- Troubleshooting Real Player
- Using Real Player Browser with Windows
- Using Real Player browser with MacOSX
- Real Player - Buffering Issues - Adjusting Connection Settings
Introduction
We're excited that you are ready to get started with your Kaplan online videos. Before you begin, there are a few things that can help ensure that you have the best possible experience.
-
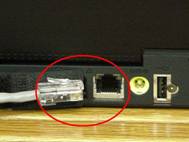
To minimize interruptions and to shorten video buffering time, it is strongly recommended that you use a wired connection instead of wifi or other wireless connections.
-
Having more than one video open at a time may reduce your Internet bandwidth and may compromise the quality of your experience. Ensure that you have only 1 video playing at any time when using your Kaplan course.
-
Some computers may require Hardware Acceleration to be disabled. If you attempt to play a video while on a wired connection and it displays "Buffering" or "Loading" for an extended period of time, click here for instructions on how to disable Hardware Acceleration.


-
We recommend using Internet Explorer, Firefox, or Safari web browsers. Other browsers may work as well but if you experience any issues, you may need to use one of these three browsers. If you do not have any of these browsers and wish to download, click on the icon below.


You can also find more detailed instructions in our FAQ section
-
In addition to using a recommended browser, an updated Flash or Realplayer may be required to play the videos depending on your computer setup. If you experience issues seeing the videos or if you click on a video and it fails to load, you may need to update flash or Realplayer. You can download the updated version by clicking the icons below.


For Windows
For Mac
You can also find more detailed instructions in our FAQ section
-
For the full list of Technical Requirements, click here. You may also find answers to frequently asked questions in our FAQ section below.
To view this message again, please click the Help icon
![]() in the video player at anytime.
in the video player at anytime.
FAQ
-
What do I do if my video continues to say "buffering" or "loading"?
Some computers may need to have hardware acceleration disabled in order to load flash videos. To disable hardware acceleration:
1. In any video content right click on the video.
2. Click "Settings"
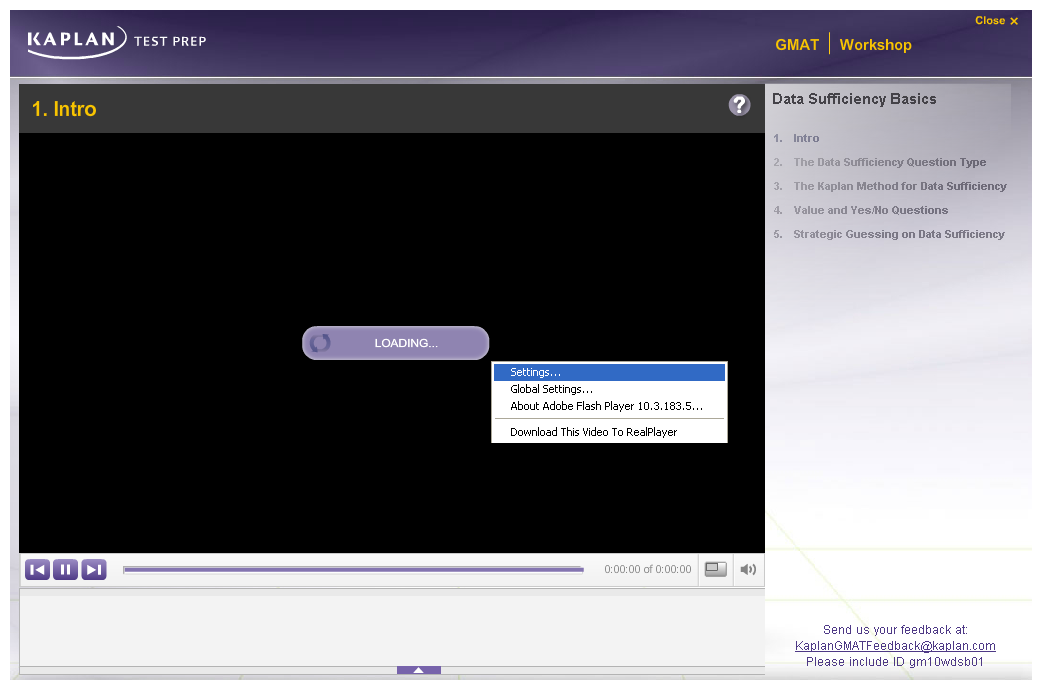
3. In Adobe Flash Player Settings click on the left most icon
 on the bottom right
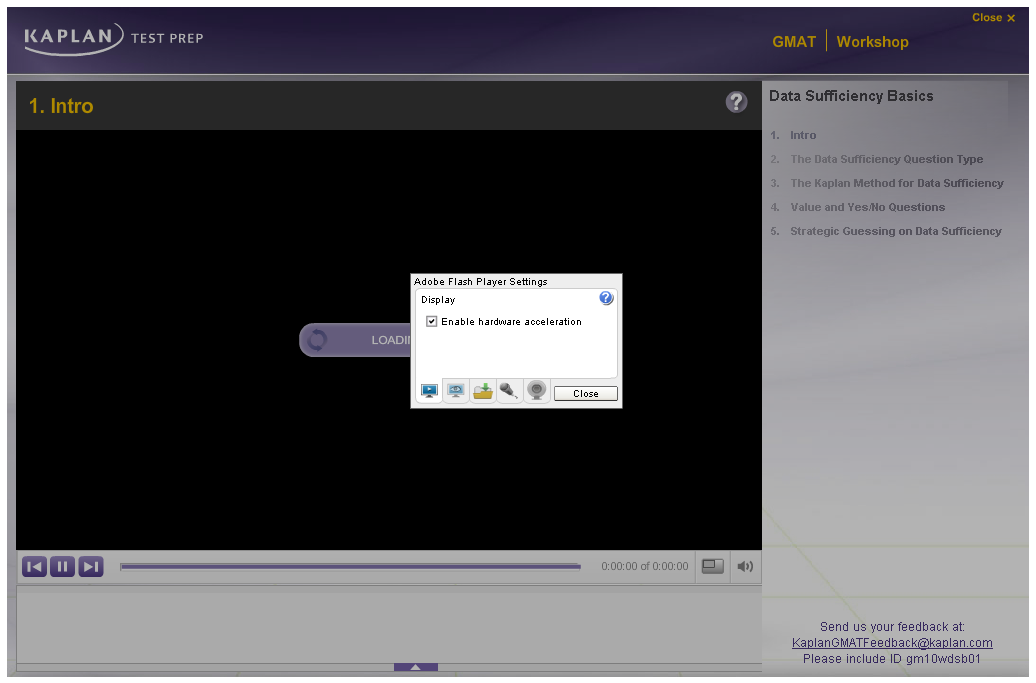
4. Uncheck "Enable Hardware Acceleration"
5. Click "Close."
6. Exit out of the video and reload the video.
-
How do I update Flash on my computer?
1. If you are using Internet Explorer; go to http://get.adobe.com/flashplayer/

2. Uncheck the box to install optional software (unless desired)
3. Click "Download Now"
4. You will be redirected to an instructions page to install the plugin.
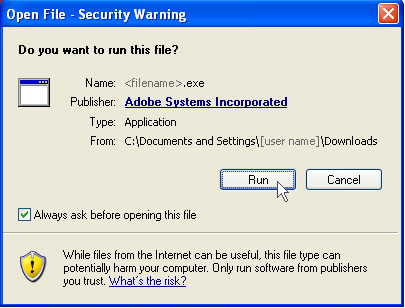
5. When File Download dialog box appears, click Run.
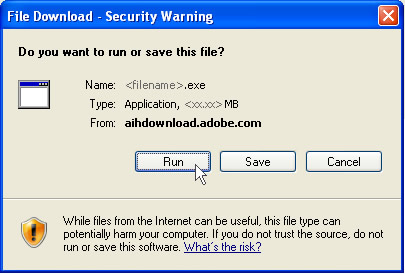
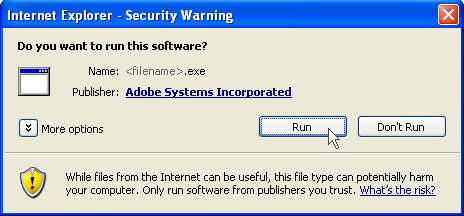
6. When Security Warning dialog box appears, click Run.
7. Once installation is complete click Finish.
8. Congratulations you have installed Adobe Flash Player.
-
For Firefox users:
1. If you are using Mozilla Firefox; go to http://get.adobe.com/flashplayer/

2. Uncheck the box to install optional software (unless desired)
3. Click "Download Now"
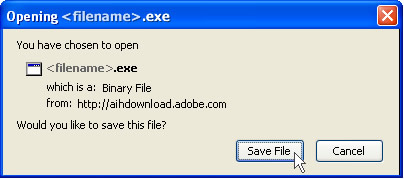
4. When Opening dialog box appears, click Save File.
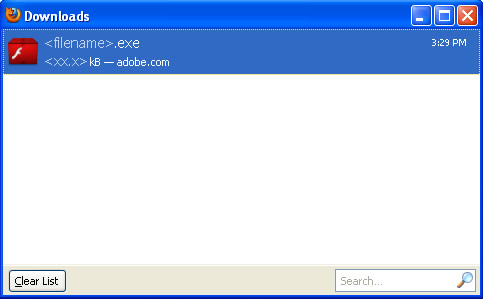
5. When Downloads window appears, double-click the file.
6. When Security Warning dialog box appears, click Run.
7. You may be asked to close Mozilla Firefox in order to complete installation.
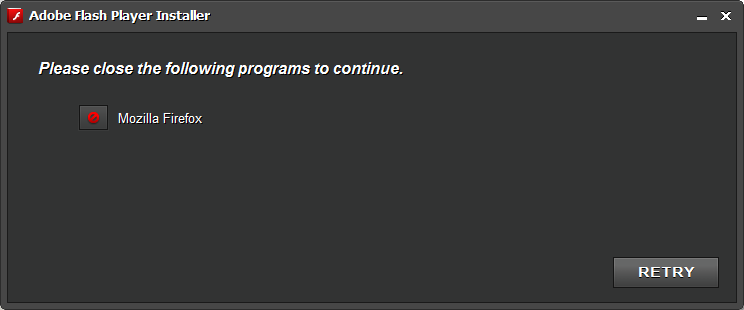
8. Minimize the window above and close ALL Mozilla Firefox windows you have open at the time and click "Retry"
9. Click finish.
-
How do I install Realplayer?
(Note: This is only necessary for DAT, OAT, and PCAT courses)
Installing Real Player For Windows
1) Go to www.real.com and click on Free Download
2) Choose to Save the file. When the download completes, run the file by double clicking on it to start the install process.
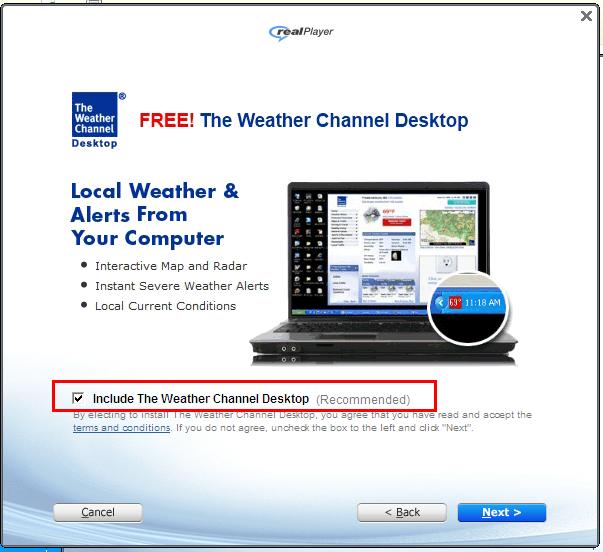
3) Accept the agreement and you will be brought to a screen similar to below, uncheck the box to Include a third party application (unless desired)
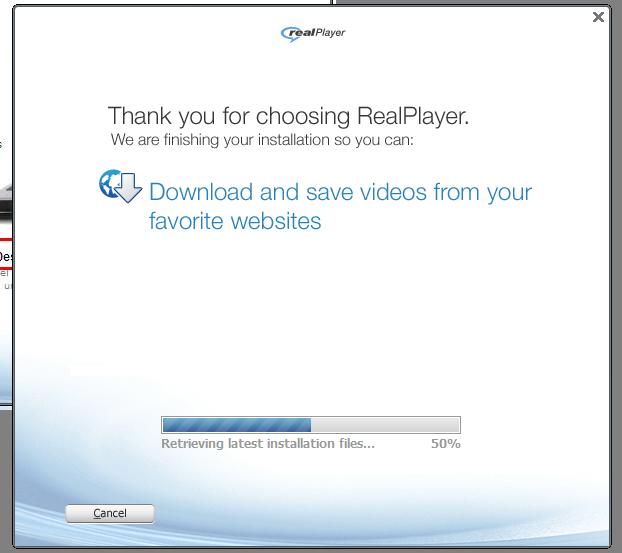
4) The program will then download the needed files and start the installation:
5) When the install finishes, you may be asked if you want to Upgrade to Real Player Plus. This is not necessary, so choose No Thanks.
6) This will complete the installation and then the Real Player Program itself should open up, which confirms that the program is installed.
7) After the installation, when viewing a Real Player based Lesson on Demand for the first time, your browser may warn that it needs to install a plugin in order to continue.
Make sure to accept and install this plugin!
If cancelled, the content may not play properly and you will need to use the RealPlayer browser window in order to view LoD content.
-
(Note: This is only necessary for DAT, OAT, and PCAT courses)
Installing Real Player for Mac
1) First direct the browser to www.real.com. Click on Free Download.
2) You will be prompted to save the file, click Save File
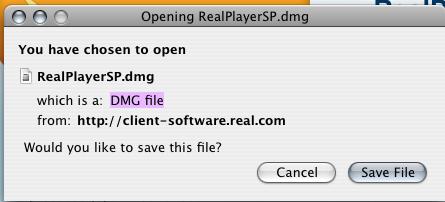
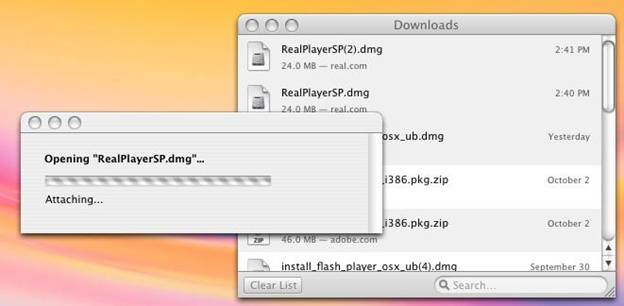
3) When the file finishes downloading, double click on the file in the download list to open it.:
4) Once it opens, you will be presented with a screen similar to below:
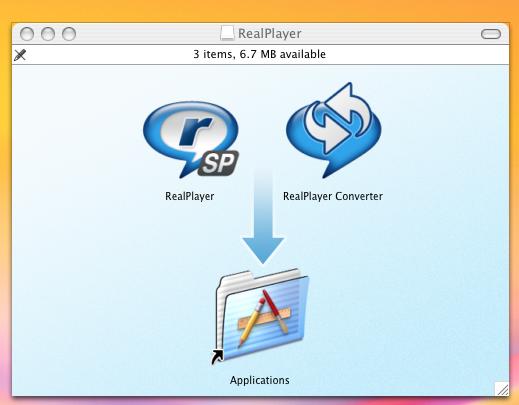
5) In order to start the actual install, click and drag the RealPlayer icon into the Applications icon:
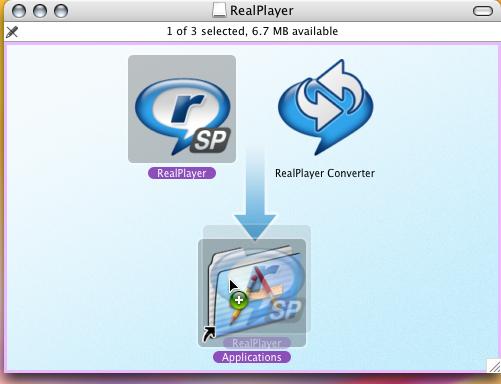
6) This will copy RealPlayer into the Applications folder, installing the program. Upon opening RealPlayer for the first time, you will be asked to configure your system, click Configure.
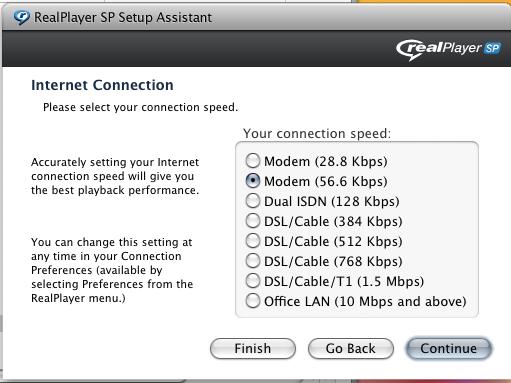
7) When asked to choose connection speed, select Modem (56.6 Kbps). Although this most likely is slower than the actual connection speed of the computer; by choosing a slower speed makes for an optimal experience.
8) Finally, when asked to choose media types, only select the ones with Real in the name, and choose Done:

9) After this, RealPlayer should finish configuring and the Real Play will now load.
Troubleshooting Real Player
If the Real Player plugin to the browser fails or is skipped, you can still watch videos via Real Player with its browser feature.
If your plugin displays 5 Play buttons, there is a problem with the plugin and you would have load videos using the Real Player browser.

In these cases it is still possible to view the RealPlayer content, however in order
to do so it is necessary to use the Real Player browser.
Using Real Player Browser with Windows
1) Open up the Real Player program
2) Choose File à New à New Web Browser from the menu bar. (Older versions of Real Player may look slightly different.)
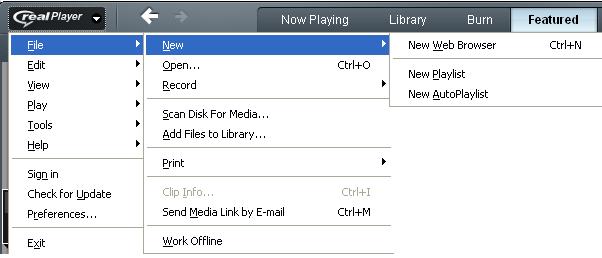
3) This will open a new, blank web browser.
4) From here, enter www.kaptest.com into the address bar, log into your account and navigate to the LoD content like you normally would:

5) The content should start playing automatically.
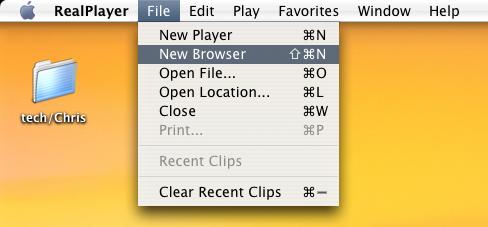
Using Real Player browser with MacOSX
1) Open up the Real Player program.
2) On your menu bar choose File à New Web Browser from the menu bar. (Older versions of Real Player may look slightly different.)
3) From here, enter www.kaptest.com into the address bar, log into your account and navigate to the LoD content like you normally would.
4) The content should start playing automatically.
Real Player - Buffering Issues - Adjusting Connection Settings
Why would I need to change the Real Player settings?
Changing the RP settings can often help when dealing with severe buffing issues and excessive loading times due to a poor connection.
Also, in some cases, when using a wireless connection, the computer will not be able to connect to the content at all, and changing the settings will be required. Often when this is the case, the control panel will show 0:00/0:00 as the time remaining.
Windows
First open the RealPlayer program.
Choose RealPlayer Button on the upper left and select "Preferences" (Older versions of RP may need to select Tool > Preferences)
Go to "Connection" (on the left column):
1) Change the "Normal" to "56.6 Kbps".
2) Change the "Maximum" to "DSL/Cable (256 Kbps)".
3) Remove the checkmark for "Automatically Detect Bandwidth Settings" (This step only applies to RealPlayer SP, if you do not have Real Player SP please skip to step number 4)
4) Under "Network Time-out", change the "Connection" to "100" and the "Server" to "300".
5) Under "Online Status", select "Assume I am online".
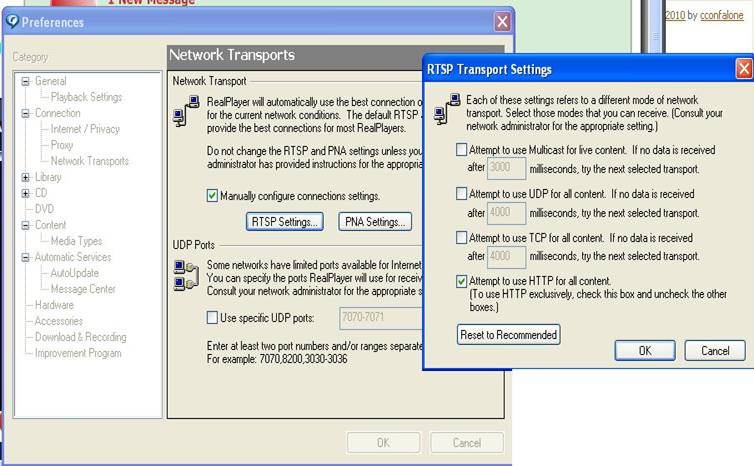
Go to "Network Transports" (on the left column, under "Connection"):
THIS IS THE MOST IMPORTANT SETTING WHEN DEALING WITH WIRELESS CONNECTION ISSUES!
1) Check the box for the "Manually configure connection settings".
2) Click on "RTSP Settings", and uncheck the first 3 check boxes (Multicast, UDP, TCP), and click "OK".
3) Click on "PNA Settings", and uncheck the first 3 check boxes (Multicast, UDP, TCP), and click "OK".
4) Click on "OK" on the bottom of "Preferences".
Go to "Playback Settings" (on the left column, above "Connection"):
1) Check the box for "Enable pausing & seeking within live internet clips for" and set the time range to "2 hours."
2) Check the box for "Temporarily increase this duration if pause for longer"
3) Check the box for "Cache-on-demand streams for faster seeking and smoother playback."
4) Check the box for "Enable Turbo Play."
5) Set the "Buffer up to" settings to 300.
Go to "Hardware" (on the left column, towards the bottom of the menu):
1) On the top for "Playback Performance", move the knob to the left to "Lowest CPU Usage"
2) Move to the middle for "Sound Card Compatibility" and click on the "Settings Button"
3) For the "Playback Quality" move the knob all the way to the left to "Most Reliable." then click "OK"
4) For "Video Card Compatibility" move the knob all the way to the left to "Most Reliable" then click OK.
MacOSX
1) First, open the RealPlayer program
2) Click on the "RealPlayer" menu on the top, next to the Apple Icon.
3) Go to "Preferences".
In Content:
1) Check the box for "Enable Cache"
2) Move the "Clip Cache Size" to all the way to the right for 20MB
In Connection :
1) Change the "Connection Speed" to "Modem (56 Kbps)".
2) Change the "Max Bandwidth" to "DSL/Cable (256 Kbps)".
3) Remove the checkmark for "Automatic Bandwidth Detection"
4) Check the box for "Enable PlayNow"
5) Check the box for "Enable TrueLive"
In Playback :
1) Change the "Buffered Play" to "60" seconds.
2) In "Network Time-out", change the "Connection" to "300" and the "Server" to "300".
3) In "Hardware", move the knob to the left for "Less Processing"
In Transport:
THIS IS THE MOST IMPORTANT SETTING WHEN DEALING WITH WIRELESS CONNECTION ISSUES!
1) Check the box for the "Use manually configured RTSP and PNA transport setting".
2) Click on "Configure".
3) Uncheck "Multicast", "UDP", and "TCP" for the both "RTSP" and "PNA" columns. Make sure the "HTTP" is the only one checked in for both.